Overview Of Crack Repair Process
As a specialty concrete crack repairs contractor, SKV Construction has had good success repairing cracks in all types of concrete slabs with a two-part, semi-rigid epoxy or polyurethane foundation crack repair materials. Usually this process has been used on cracks that are 1/2 inch or less in width.
Cracks that have not been repaired right the first time, or cracks that are wider than 1/2" can also be repaired, but the repair area is typically wider than appropriate for a semi-rigid filler material. Repairing these wider cracks can be successful, but one must use materials with very high bond strengths and tensile strengths. These types of materials will allow for continued slab shrinkage.
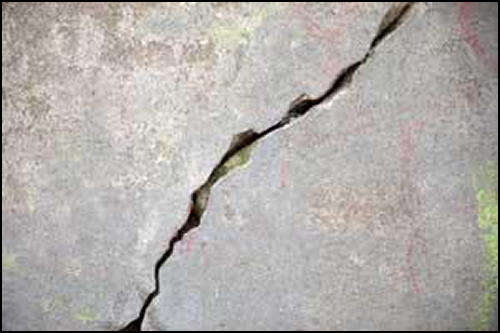
Specific Process For Concrete Crack Repairs
There is a specific process a concrete repair contractor must follow. Here is a step-by-step process:
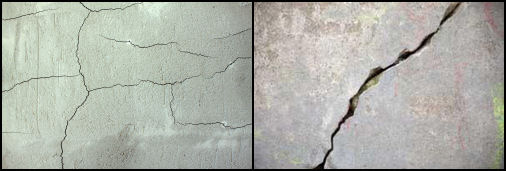
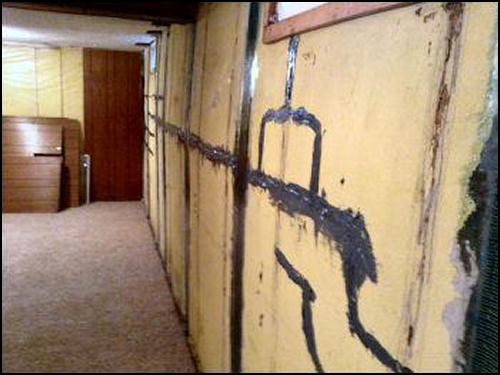
- It begins by carefully cutting shallow guidance lines on the sides of the crack, keeping the repair area as narrow as possible. See Figure 1 and Figure 2.
- Then remove the concrete or old filler between the cut and the crack.
- Clean out all the debris so there is a clean surface to work with.
- Next, place a bond breaker in the center of the crack to keep the sides separate, and forming a narrow contraction joint. This will alllow the conrete some movement, and will maintain a line as straight as possible that will hardly be visible. (Remember, lack of movement is what caused the crack in the first place.)
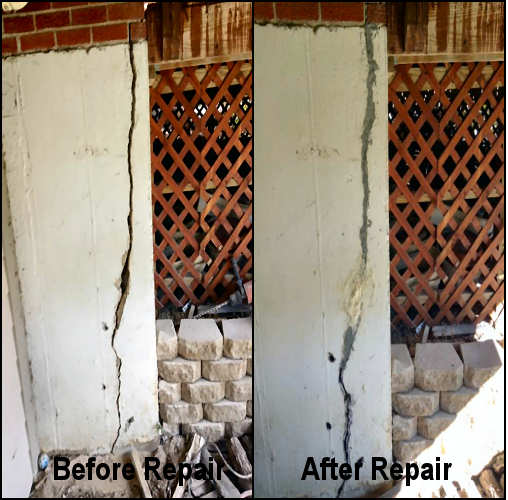
- The finished area is then lightly ground down. The repaired area will still be visible, but will be a strong repair. See Figure 3.
- Note that repaired crack can not be hidden completely. The original color and surface treatment simply can NOT be duplicated. Think of it as similar to copying someones handwriting! However, the repaired area can be made to look uniform so it blends in better.
This type of repair method for wide cracks has been referred to as "Armored Crack Repair".

